
StitchAI ProStitchAI Pro
All guides
Digitizing 6 min read

Cap Embroidery: Why Flat Logos Fail on Curved Fronts

A cap front is a curved, foam-backed, hard-to-hoop panel that fights the needle. A logo digitized for flat goods will push, gap and lean on it. Re-digitizing for caps is mostly three decisions: how big, in what order, and on what underlay.

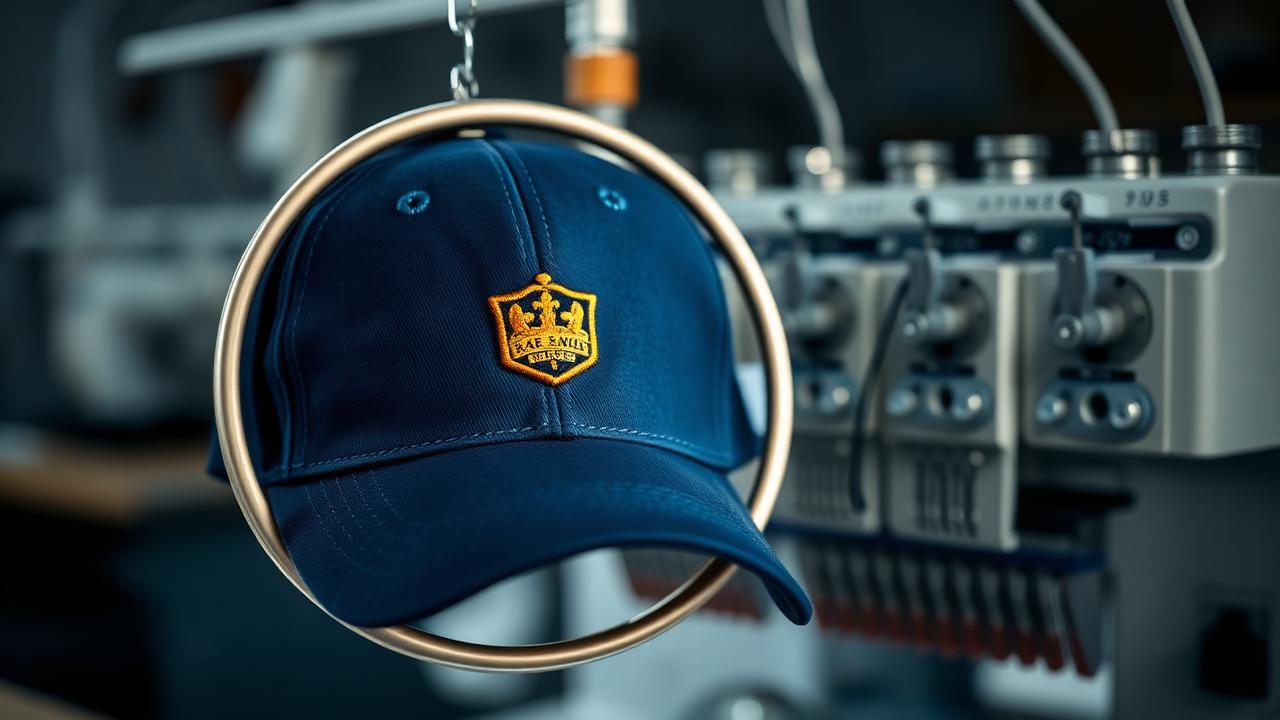
Navy baseball cap hooped on an industrial embroidery machine stitching a gold crest

Size to the seam, not to the artwork

Most structured caps give you roughly 55mm of usable height and about 130mm of width before the side seams start curving away. Anything taller crowds the crown; anything wider distorts as the panel rolls.

  • Standard cap front: 50-55mm tall, 110-130mm wide.
  • Keep lettering at 6mm cap height or larger.
  • Move fine detail to a side or back placement rather than shrinking it.

Sew bottom-up and centre-out

Cap frames drive the fabric from the middle outward, so the stitch order has to follow. A file sequenced left-to-right, as most flat-goods files are, pushes fabric ahead of the needle and leaves registration gaps by the time it reaches the far side.

Underlay does the stabilising, not the topping

Structured caps need a heavier underlay grid than a knit polo, plus a centre-run to lock each element before the top stitching. Add pull compensation across the width — the panel stretches horizontally far more than vertically.

Frequently asked

Can I use the same file for caps and shirts?
You can, but you should not. Run the conversion twice and pick the cap placement so the sequencing, underlay and pull compensation match the garment.
What file format do cap machines use?
The same as flat goods — DST for Tajima and most commercial heads, PES for Brother and Babylock. Both are included in every embroidery conversion.

Digitize a cap-ready version of your logo

10 free credits on signup. Watermarked preview before you pay, every format on download.

Keep reading