
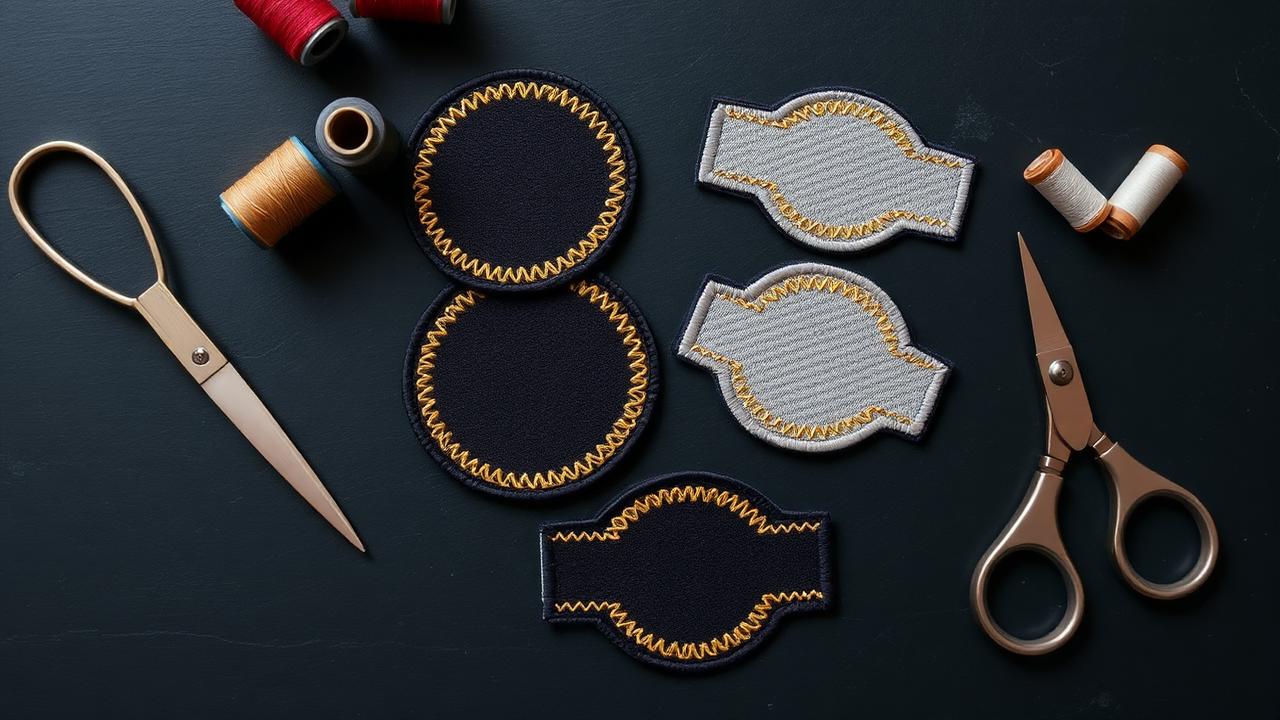
Pick the edge finish first
A merrowed edge needs a simple convex outline — circles, ovals, shields, rounded rectangles. Satin borders can follow complex shapes including inside corners, but need at least a 3mm corner radius to avoid thread build-up.
- Merrow: simple shapes only, classic 2.5mm rolled edge.
- Satin: any shape, 3mm minimum radius on corners.
- Laser-cut: crisp modern edge, best for twill and heat-seal backing.
Leave a quiet margin
Keep 3-4mm of clear space between your design and the border. Detail that runs into the edge looks cropped once the patch is trimmed, and stacked stitching at the boundary makes the patch curl.
Size for legibility, not for the artboard
Below 60mm most wordmarks lose their smallest characters. If the design has a tagline, either drop it or plan a 75mm-plus patch. Run a stitch simulation at final size before you order a hundred of them.